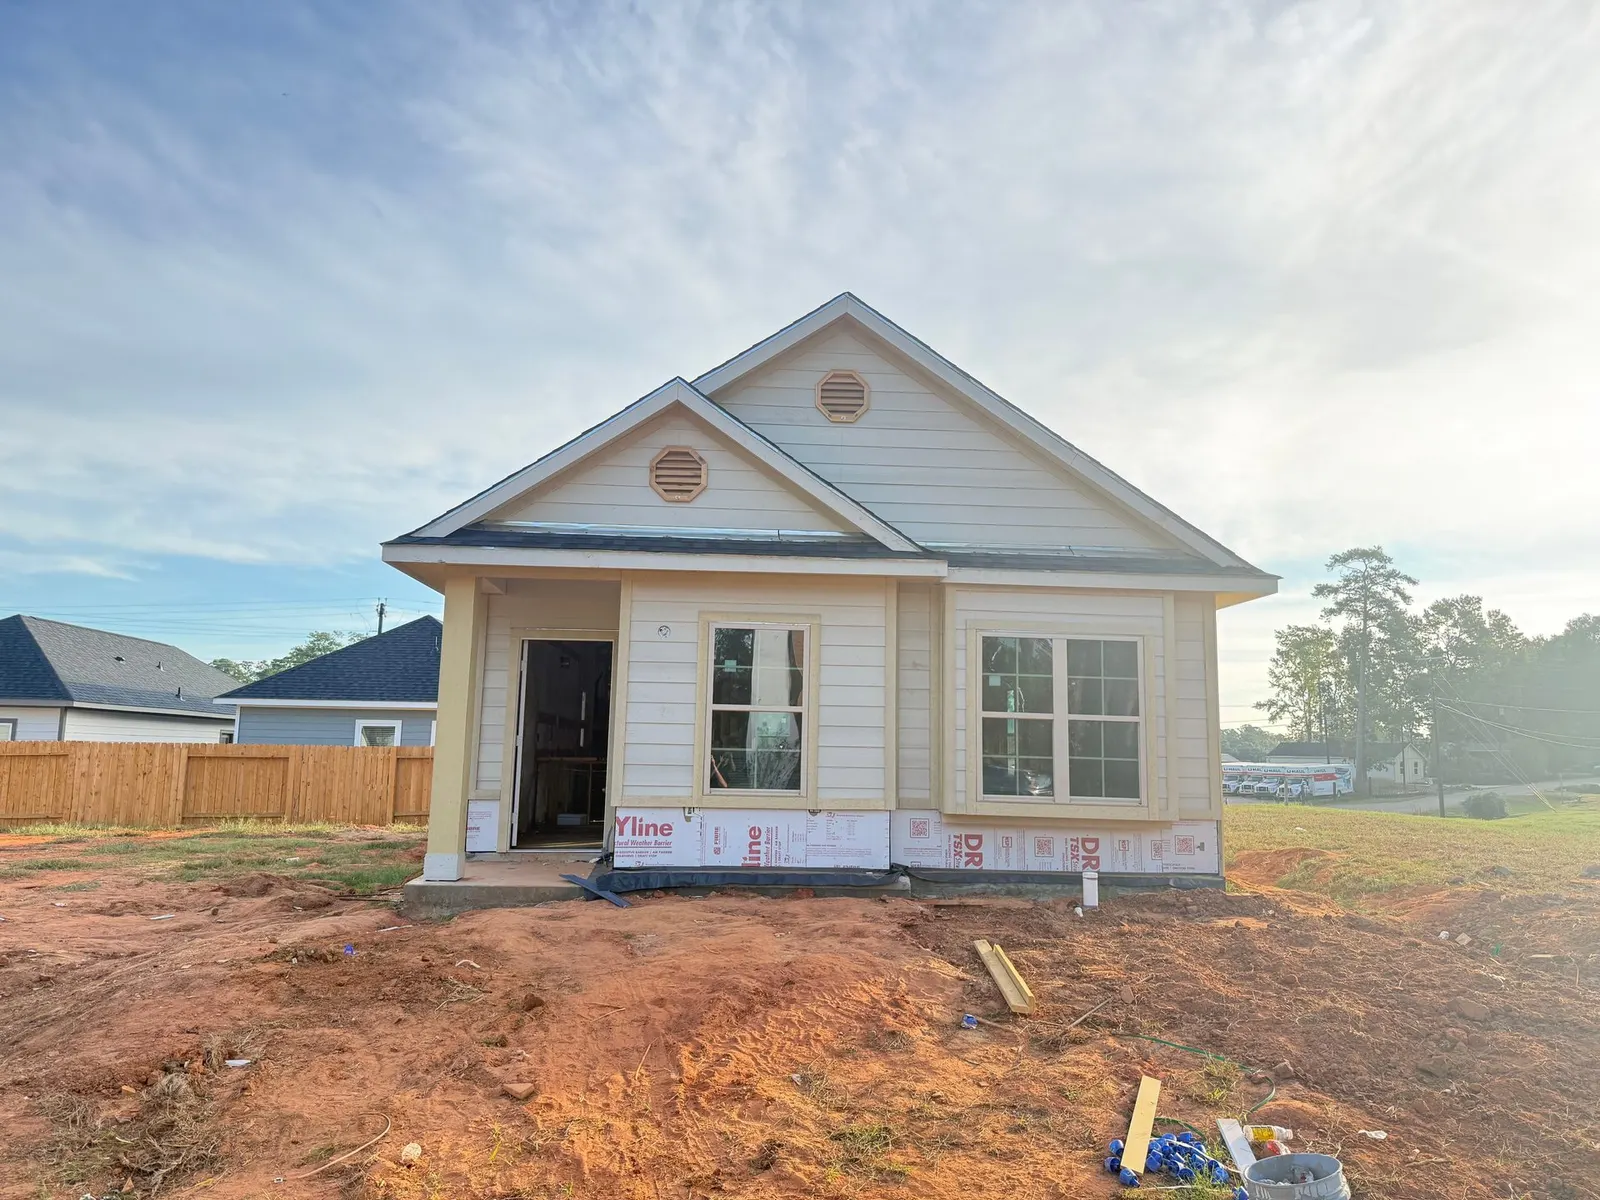
New-Home Walkthrough Checklist: What to Bring and Record
Homebuyer Tips Oct 8, 2026 · 4 min read
Alta Homes Team
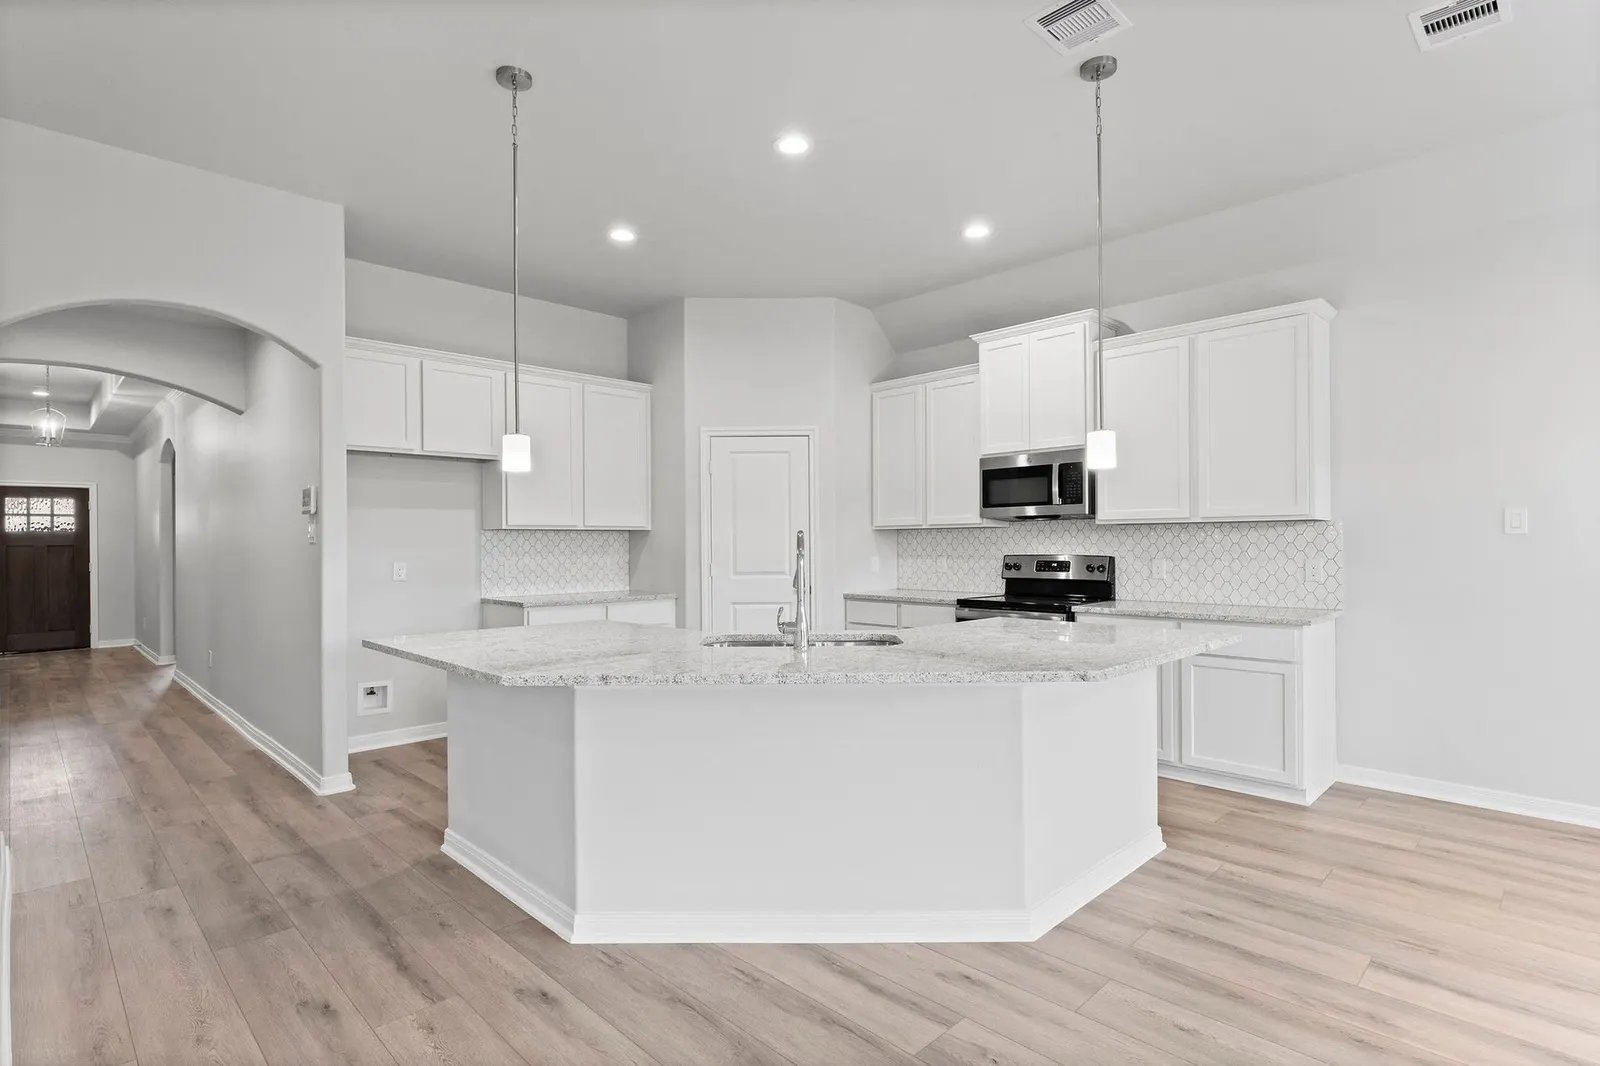
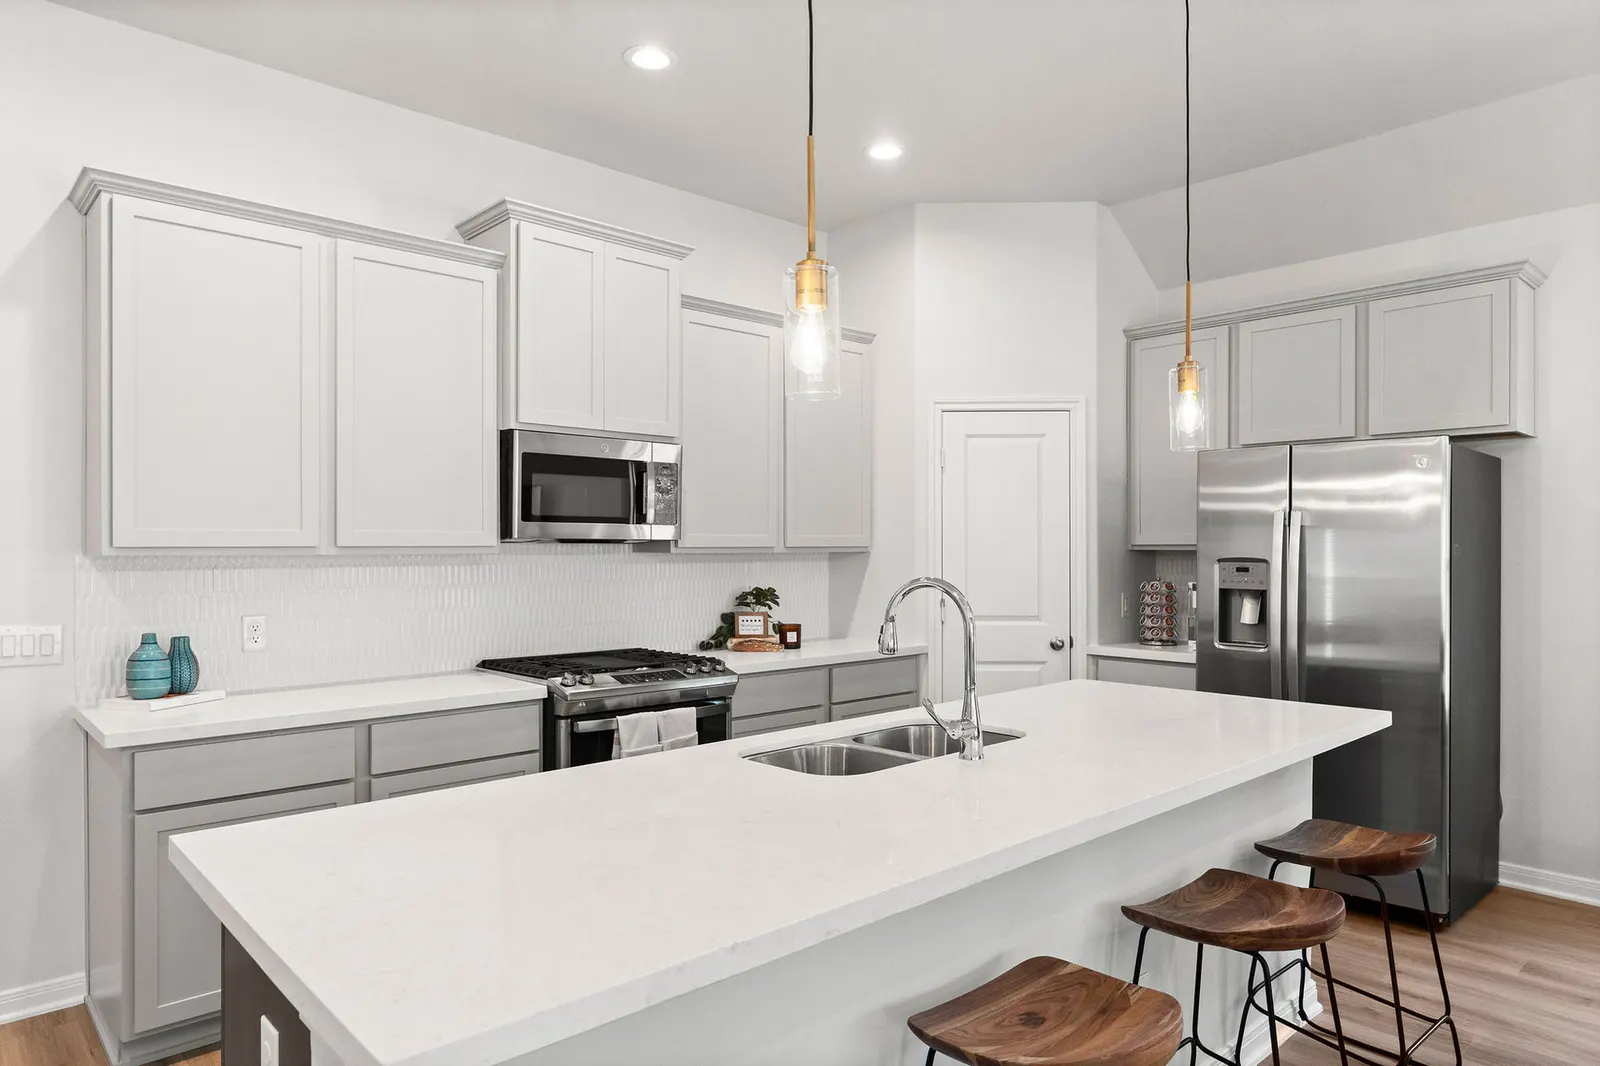
An Alta kitchen from our home gallery. Use the specifications and finishes for your own home during the walkthrough.
A new-home walkthrough goes more smoothly when you arrive with a plan. Bring the documents that describe your home, look closely at finishes before closing, and leave with a written record of the next steps. This is also your chance to learn the controls you will use after moving in.
Our guide to buying an Alta home explains that your Home Advisor can discuss construction updates, your walkthrough, and the expected closing schedule. Before the appointment, ask who will meet you, how much time to allow, and how follow-up items will be recorded and reviewed. Use the answers for your particular purchase.
Bring the right reference materials
Keep these together on your phone or in a folder:
- Your purchase agreement and your community’s included-features information.
- Written selections or changes that apply to your home.
- An independent inspection report, if you have commissioned one.
- A notes sheet, a charged phone for photographs, and your operating questions.
Compare what you see with the documents for your selected home. Our model home tour checklist explains how to separate displayed features from what is included in a particular purchase.
Take one room at a time
Start at the entry and follow the same route through the home. Ask the representative to demonstrate unfamiliar equipment; observe from places you can reach safely.
| Area | What to do and record |
|---|---|
| Doors and windows | Open, close, and lock each one you can reach. Note sticking, rubbing, or a latch that does not engage, with its room and location. |
| Walls, trim, and floors | Look in good light at paint, trim joints, and flooring. Record the exact spot of a mark, gap, chip, or other concern. |
| Kitchen and bathrooms | Open cabinet doors and drawers. Run faucets, look beneath sinks, flush toilets, and examine counters, sinks, tubs, and showers for visible marks or chips. |
| Appliances and controls | Ask for demonstrations of the installed appliances, thermostat, and heating and cooling controls. Note any operation or care question that needs an answer. |
| Garage and exterior | Ask for a garage-door demonstration. Check outside lights and faucets with the representative, and look at brick, siding, paint, and concrete from ground level. Ask where the drainage swales are and how to keep them clear. |
Look closely at finishes while you are there. Our published warranty booklet excludes cosmetic finishes and appearance concerns such as scratches, chips, and color variation, and emphasizes examination before closing. Point out anything you see so it can be discussed and recorded. Read the booklet for the terms that apply; a walkthrough note does not itself determine warranty coverage.
Keep a builder walkthrough and an inspection distinct
A builder walkthrough helps you learn the home and organize observations. An independent inspection has its own scope and written report. If you want one, first ask your Home Advisor about the access arrangements for your purchase, then agree on the service and timing with the inspector.
TREC’s inspection standards apply to covered inspections of substantially completed homes by its licensed inspectors. An earlier visit, such as before drywall, needs a discussion of what the inspector will and will not evaluate.
TREC also warns consumers about abbreviated visits sold by inspectors, which it calls walkthrough inspections. That warning concerns a shortened professional inspection, rather than the builder walkthrough described here.
Leave with two useful records
Operating notes: Record the main water shutoff, electrical panel, thermostat model, filter size and location, and where appliance manuals are kept. Ask the representative to explain controls rather than experimenting with unfamiliar equipment.
Follow-up list: Give every item a location, a factual observation, a photo reference, and the next step discussed. For example: “Kitchen island, left end of countertop: small chip on the front edge; see photos 7 and 8.” Save a wide view and a close detail. Add the contact and timing actually agreed to, then retain the written resolution.
Save both records with your purchase documents. Our homeowner support page has warranty resources and maintenance videos, including the Warranty Walkthrough Guide video. Before your appointment, send your Home Advisor your questions and bring this checklist so we can work through them with you.